
How To Make Wine & Necessary Equipment
There is no absolute right or wrong way to make wine. Different approaches work in differing environments. You're suppose to have fun. One can make multiple "errors" and still end up with a drinkable wine.
You could simply toss juice into a bucket; cover the bucket, letting it ferment a week or two and boom, you've got wine. Possible but not likely.
In the following dialogue bold words indicate a necessary piece of equipment. Underlined words are to emphasize specific terminology or actions insuring a safe and drinkable final product. A list is provided at the end of this section
EVERY piece of equipment that touches your wine needs to be sanitized!! A separate section on sanitation is in this discussion.
Take and keep notes of all your activities, dates and readings.
Primary Fermentation-
Wine is made by fermenting juice. Most commonly grape juice. Thus, you will combine the juice with yeast and limit or prevent oxygen exposure. {Once the juice has yeast and any other additives it is known as must.} The Yeast will convert sugars in the must into alcohol and carbon dioxide. If oxygen is present this won't work and you'll get "yuck". (Note, a small amount of oxygen is necessary near the beginning stages to allow the yeast to reproduce successfully.)
The juice and any additives, are placed into a sanitized container according to the recipe's directions. I recommend adding a small amount of potassium metabisulfite -KMB- to your must to control wild yeast and maintain sanitation. (Aproxamately .23g/gallon)
Commonly a large plastic bucket is used to start this process. This is known as the primary fermenter. It has a lid with a gasket and a small hole allowing an airlock to be attached. The sealed bucket prevents oxygen contamination while the airlock allows carbon dioxide to escape. Primary fermentation typicaly takes from seven to fourteen days. (Though it can be as few as three days.) Generally the temperature should be between 65ºF/18ºC and 75ºF/24ºC (Lower temperatures slow fermentation; higher temperatures increase the rate.) A large plastic spoon or stirrer is helpful and a rubber mallet, to seal the lid, may be useful.
-- IF YOU ARE USING FROZEN OR FRESH GRAPES ADDITIONAL INFORMATION CAN BE FOUND IN THE LAST SECTION OF THIS PAGE --
- Once temperature is stable and generally between 65-75º F (18-24ºC ) use a hydrometer to determine the specific gravity (SG). Write down the SG of your must for the first day. Typically it will be in the range of 1.110-1.086.
- Add appropriate dry yeast to must. (Pitch the yeast)
- Sprinkle on top of must and don't stir for 24 hours. OR
- Follow packet instructions and hydrate yeast.
- ? What's appropriate ? Check this link.
- Cover primary fermenter with lid. Does not need to be airtight at this stage. Wait 24-48 hours.
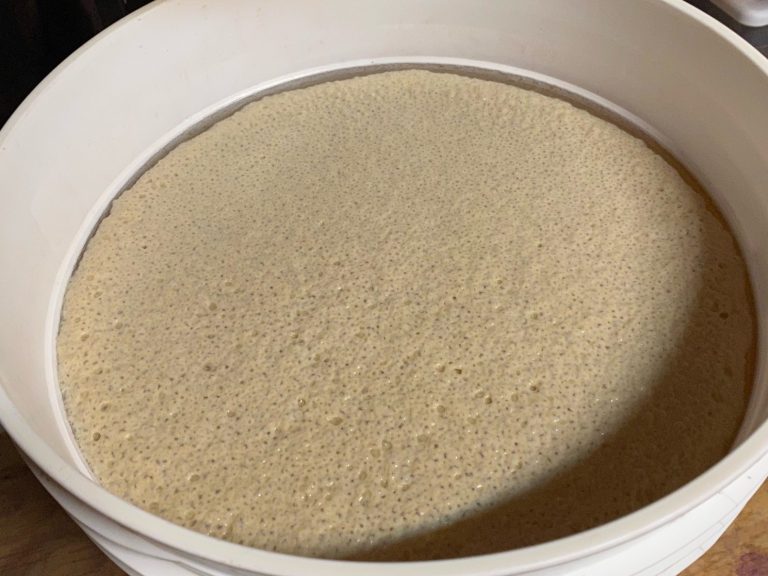
- AFTER 24-48 hours you will see signs of fermentation. (foaming) Stir at least once and not more than two times a day until SG is at or below 1.030. I suggest keeping the primary fermenter airtight after 48 hours. Opening to stir allows more than enough O2 for yeast to reproduce.
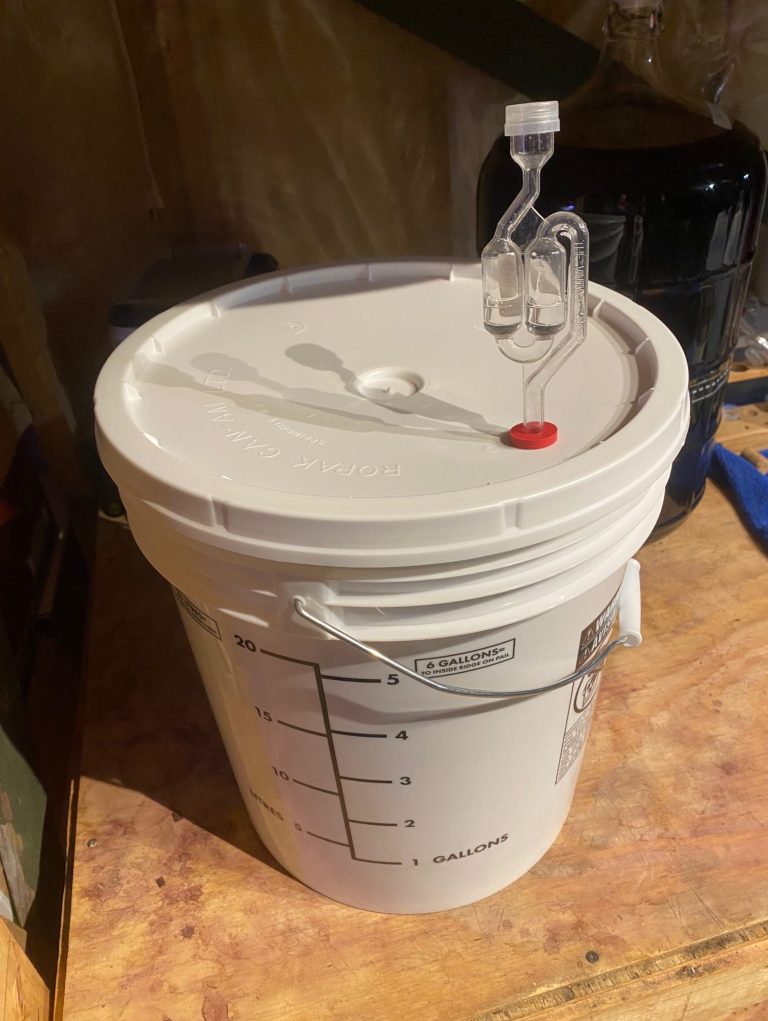
Primary fermenter with airlock
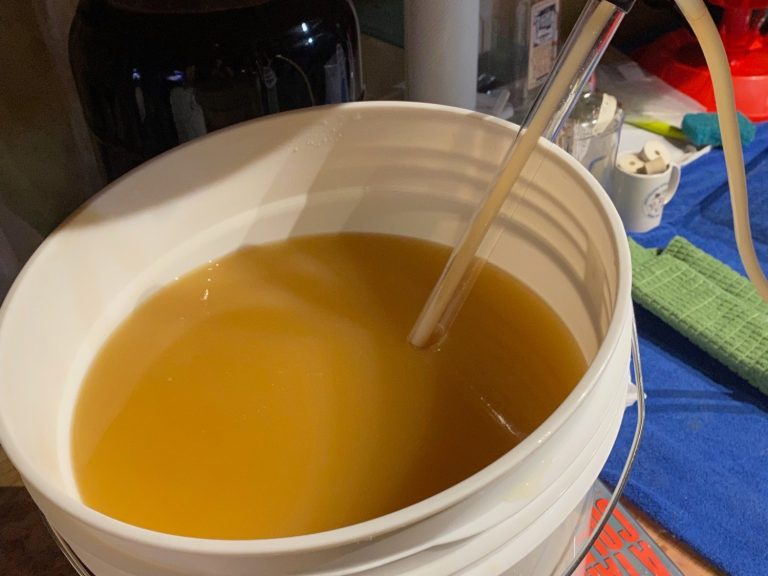
White wine must in primary fermenter.
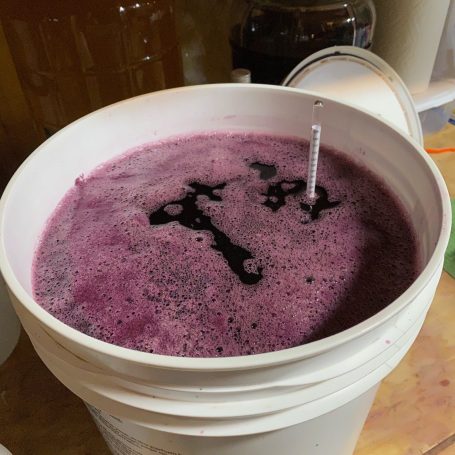
Active yeast fermentation
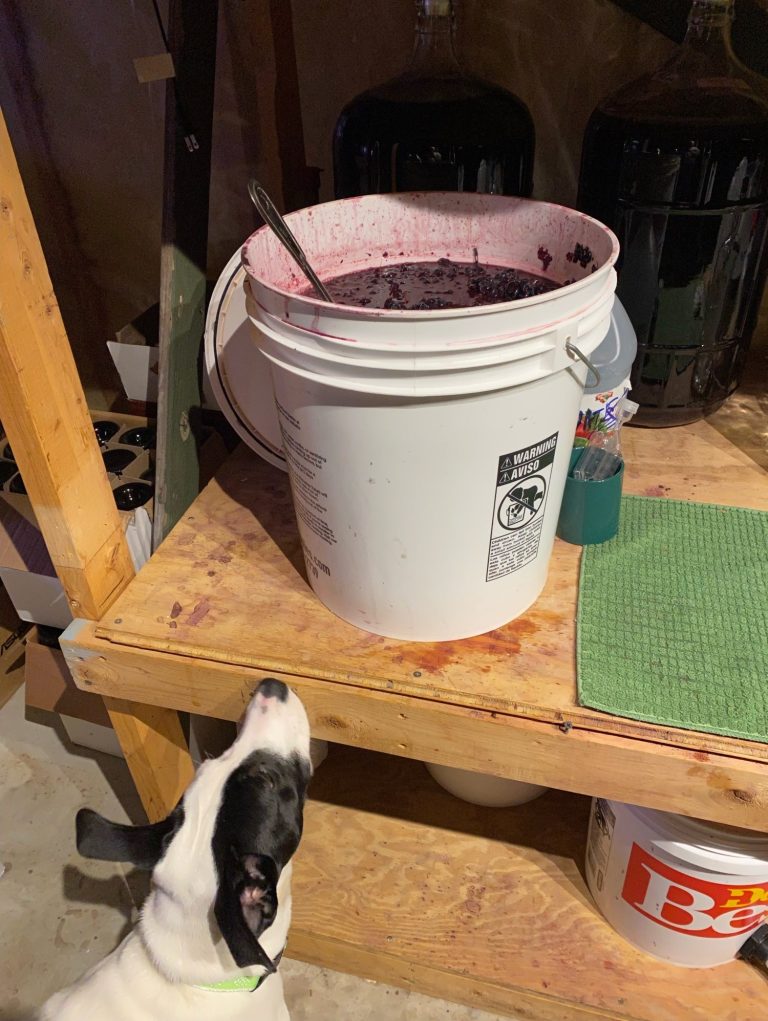
Wishful thinking (not my dogs name)
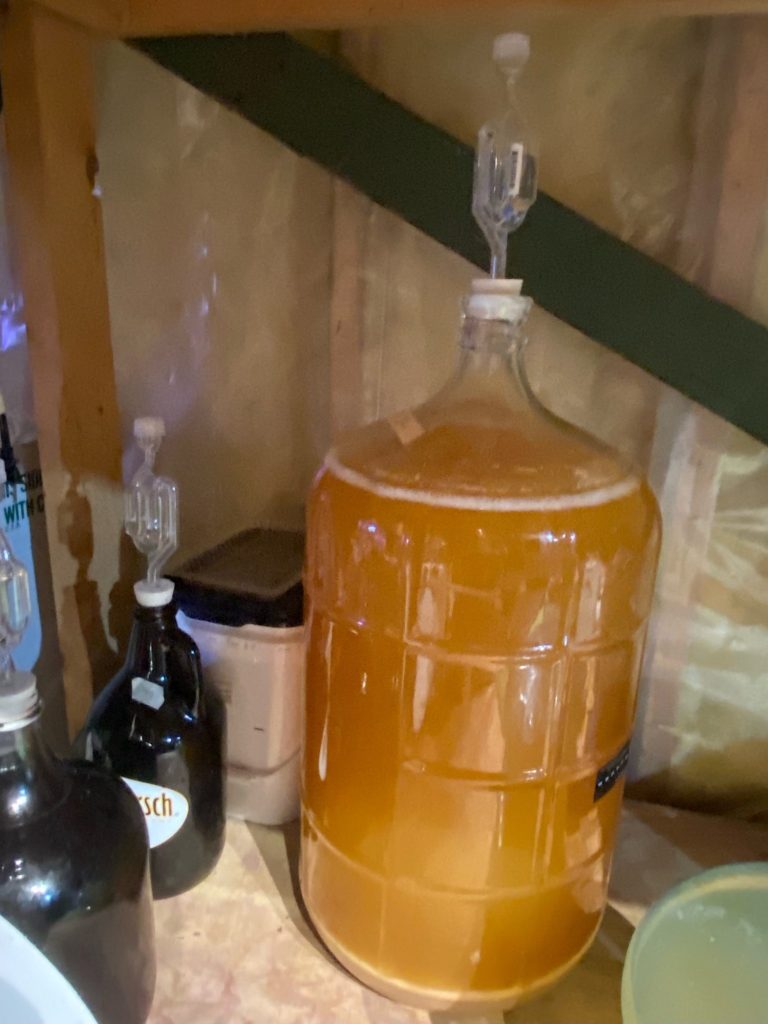
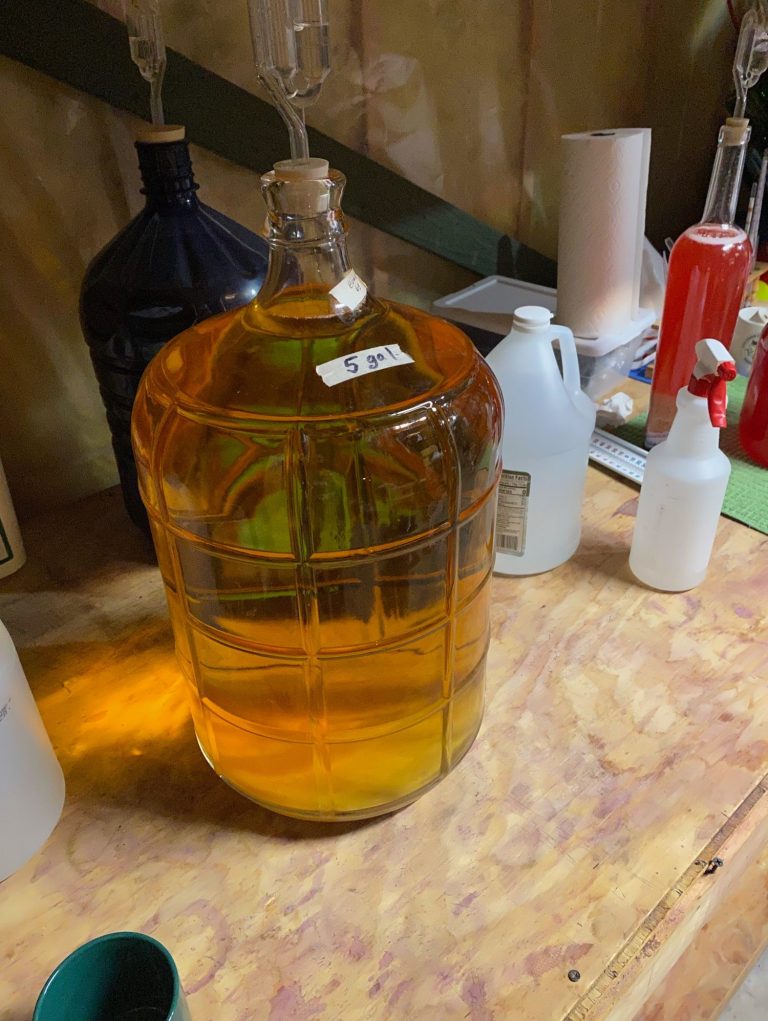
A white wine before clarification. The "lees" are visible at the bottom of the carboy.
How To Make Wine & Necessary Equipment (cont.)
Secondary Fermentation-
Once primary fermentation is complete the "must" needs to be racked (transferred by siphon) into a sanitized secondary fermenter. The secondary fermenter is usually a glass or plastic carboy. You want no oxygen at this stage. Use an airlock on top of carboy. Leave the coarse sediment behind. Generally some of the finer sediment will pass into the carboy. {sediments are known as lees} While racking can be accomplished with a tube and simply siphoning; it is much easier to use an auto siphon/racking cane. This will be more sanitary and help reduce the amount of lee transfer.
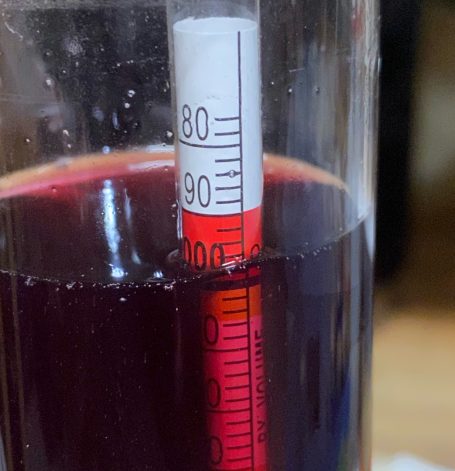
The best way to determine when primary fermentation is complete and it's time to start secondary, is by using a hydrometer. This will tell you how far the fermentation process has gotten. Hydrometers float in the must and give a Specific Gravity (SG) reading. [Most hydrometers have three scales. We'll ignore the other two for this discussion.] The hydrometer is used to determine the alcohol level in your wine. The Hydrometer can be floated in your primary fermenter or in a test jar. (A tall thin cylinder similar to a graduate cylinder from chemistry class.) Consider purchasing a test jar when you buy your hydrometer. (See accompanying pictures.) You will need to use the test jar when sampling must from the carboy. Obtaining a sample from the carboy is most easily done with a wine thief.
- Start secondary fermentation when the SG reading is in the range 1.030-1.010.
- Secondary fermentation is complete when the SG reading is at or below 0.998. (There will be little to no bubbling through the airlock.)
- Take your readings at eye level.
- Use the line at the top of the liquid's curve. (meniscus)
- More information on hydrometers
Once secondary fermentation is complete rack the must again leaving the lees behind.
Hydrometer floating in must
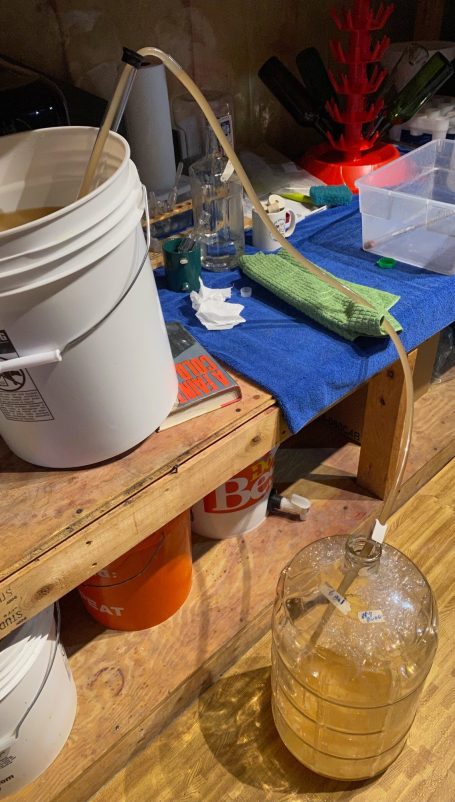
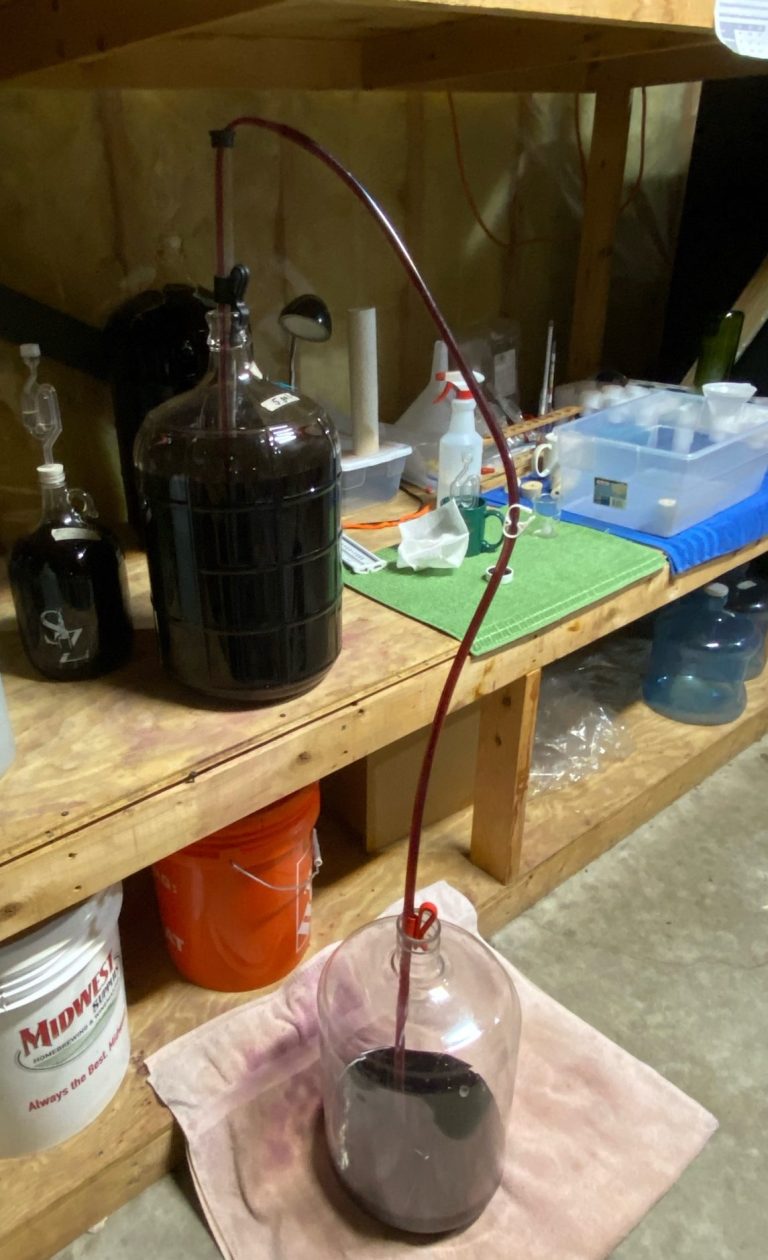
Racking from primary to carboy
Hydrometer floating in test jar. It should not touch side of cylinder
How To Make Wine & Necessary Equipment (cont.)
Stabilizing & Clarifying-
As previously mentioned, once fermentation is complete [Bubbling in the carboy has ceased for two or more days and SG is at or below 0.998.] you need to rack your wine again. After racking and leaving the lees behind, you will stabilize and clear the wine. If you are using a kit you will have instructions for this. If you are not using a kit the information below is a guide. Be sure to use common sense and your observations to modify my suggestions.
Rack into a second carboy (easier) or use your sanitized primary then rack back to the carboy once the treatments below are complete.
Wine should be still, stable and clear. Not fizzy, contaminated and cloudy.
Still- means not bubbling from carbon dioxide dissolved in the wine when bottled. This is accomplished by degassing.
- Degassing requires lots of stirring to get the wine into a froth. A degassing rod can be hand held or attached to an electric drill. I strongly suggest using a drill.
- Degassing removes dissolved carbon dioxide, enabling better clarification and no bubbles when you open the bottle.
- Cooler temperatures require more degassing than warm.
Stable- This process prevents or slows the yeast from further activity. Also, helps prevent oxygen contamination. Stabilization is accomplished by adding preservatives. (chemicals) Do this after degassing.
- Potassium Metabisulfite (KMB) - Provides protection from oxygen. WIne kits provide high dosages. A low dose of 1.4 grams for six gallons is probably enough. Add potassium metabisulfite every other racking if you rack multiple times.
- Camden Tablets contain Potassium Metabisulfite. They come in various concentrations.
- I prefer measuring Potassium Metabisulfite powder with a scale or balance.
- Potassium Sorbate- Prevents yeast from growing and possibly putting carbon dioxide in bottled wine. I usually skip this unless I'm going to add sugar and back sweeten.
- A discussion on adding sulfites to wine. Not everyone does.
Clearing- is accomplished by multiple rackings and/or adding fining agents.
- Each racking will leave behind more lees. The more you rack the clearer the wine becomes. (Figure three to four weeks between racking to allow the lees to settle.)
- Keep your carboy topped up. You loose some volume at every racking. Don't allow a large air space at the top of your carboy.
- Add a finished wine of the same type or similar, to top up.
- Oxygen is lighter than CO2 so some space at the top isn't an issue since the O2 goes to the top and the must is only in contact with the CO2.
- Fining agents will enhance the rate of sedimentation. Thus, clearing the wine faster. It's your choice. I find using Kieselsol and Chitosan work well. They are commonly found in wine kits. They can be purchased separately when you're not using a kit. (Link to more information at bottom of this section.)
- Allow the wine to sit at least 3 days after using fining agents so everything can settle.
Between clearing and bottling your wine will sit/age in the carboy. This could be days or months. Don't allow the wine to sit on the lees more than 30 days. Rack again if you want to age longer. Figure two to six months from starting fermentation to bottling. Depends on the style, how well the wine clears and what else your particular recipe requires.
Note lees at bottom of carboy during clearing

Racking cane- Note the book under the bucket. This provides an angle for easier racking and less lee uptake.
How To Make Wine & Necessary Equipment (cont.)
Bottling and Corking-
Once the wine is stable and clear it's time for bottling. You can purchase new bottles or recycle commercial bottles. Restaurants may give you their empties. Friends may save their bottles for you. It's the ultimate in recycling to use bottles again. It does require extra effort to clean them and label removal can be a challenge but it's worth it.
Bottling- Sanatize the bottles. Allow them to stand upside down in a bottle rack for a bit. When everything else is sanitized place bottles on a towel on the floor to be filled.
Filling bottles is accomplished by using your racking cane and a bottle filler. You simply siphon from the carboy into the bottle. Allow bottle to fill completely. Some overflow is common. (Which is why they're on a towel.) Once the filler is removed the level in the bottle will be perfect for corking.
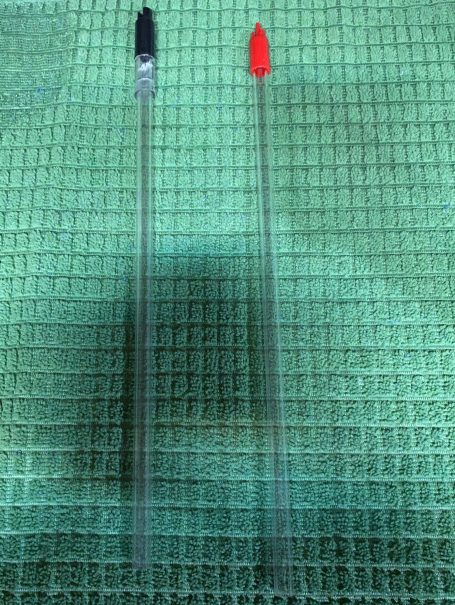
I recommend a springless (gravity fill/foot valve) bottle filler. You may prefer a spring tip filler. It's personal choice.
- Springless fillers stop the flow of wine when you lift the filler from the bottle. You do not need to hold the filler while in use.
- Allow bottle to slightly overfill- (Pushes up residual sanitizing agent which flows out bottle onto towel.)
- Remove filler- the wine level is now perfect for corking.
- Place in next bottle- (If flow rate is correct and you are using a floor/bench corker you'll have time to cork previous bottle while this one fills.)
- Spring fillers must be pressed down to allow wine to flow.
- less dripping between bottles
- you need to be holding (pressing) the filler continuously to fill bottle. (Can't cork previous bottle while this one fills.)
Corking- Use #9 1.75 inch long corks. First or premium quality.
Sanitize or steam corks. I put an inch (2cm) of water in a small pot - add 30 corks - bring to a boil lid on - remove from heat - allow to sit two minutes. If you use synthetic corks do not steam use a sanitizer.
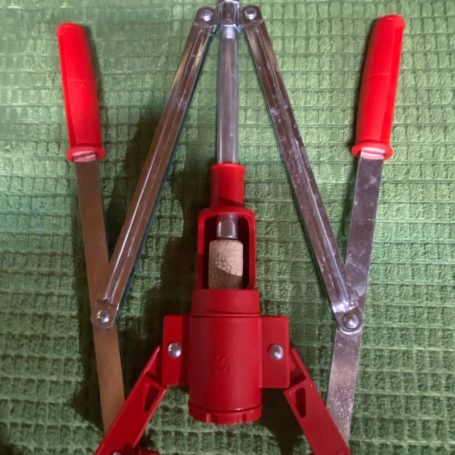
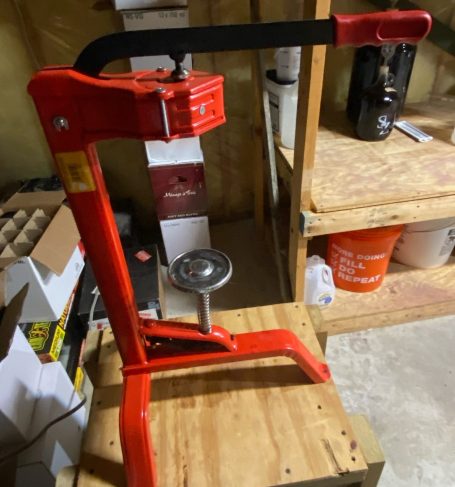
While a hand corker will work it's much easier to use a floor/bench corker.
- Allow the bottles to remain upright for two or three days.
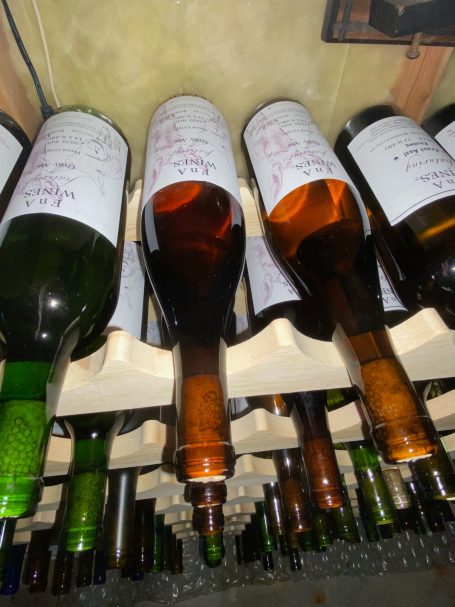
- Store the bottles on their side long term. (If you purchase synthetic corks the bottles can be stored upright.)
Screw on caps- I tried they work. But...
- Have difficulty finding replacements for commercial screw on bottles.
- Had more leakage than I wanted.
- Have given up on screw caps
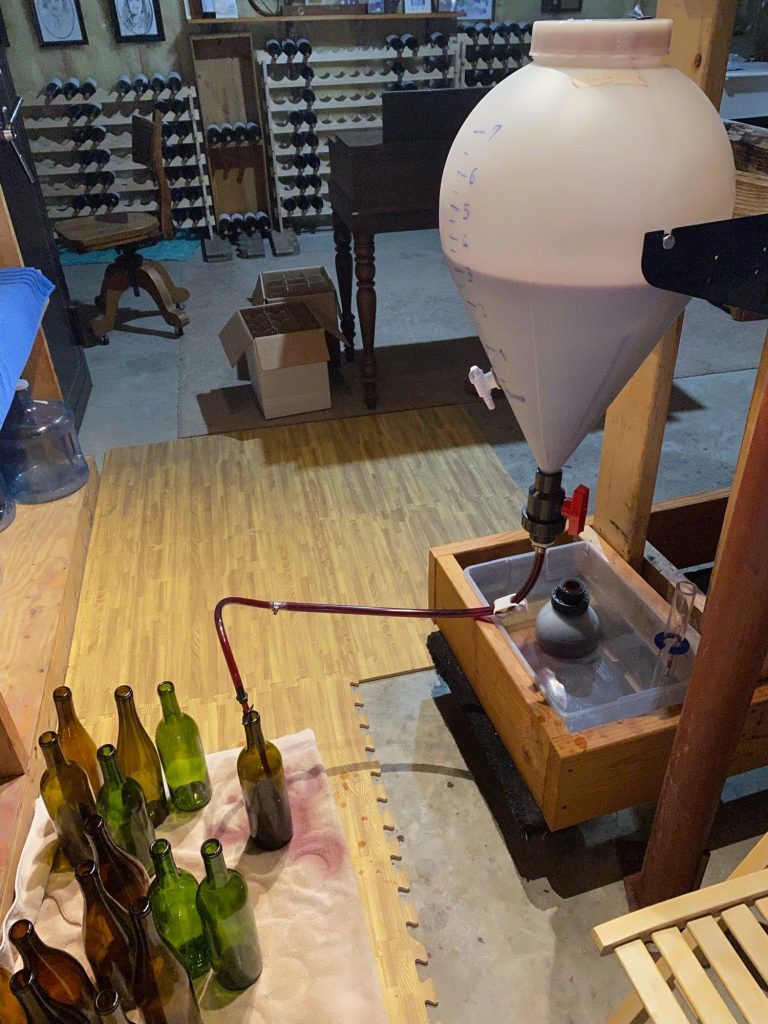
Filling bottles from conical carboy
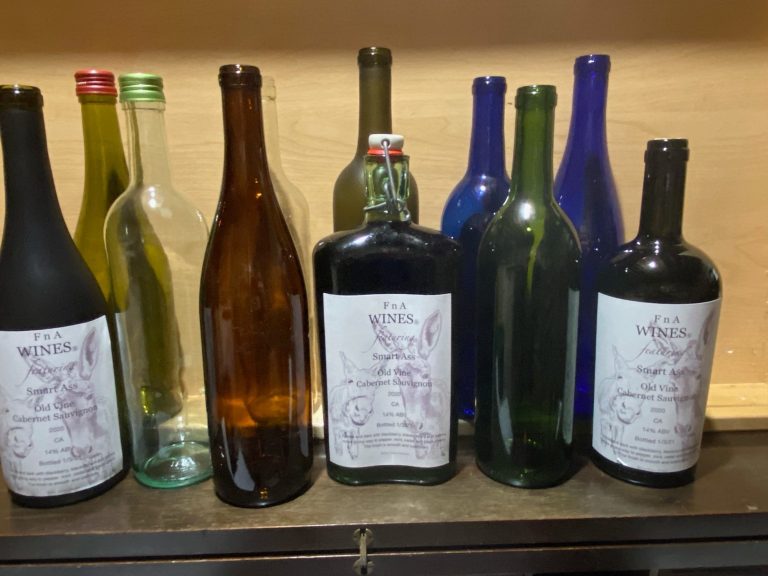
Most any type bottle will work. As long as you can seal it.
Hand Corker
Bottle fillers- spring and non spring
Floor/Bench corker
How To Make Wine & Necessary Equipment (cont.)
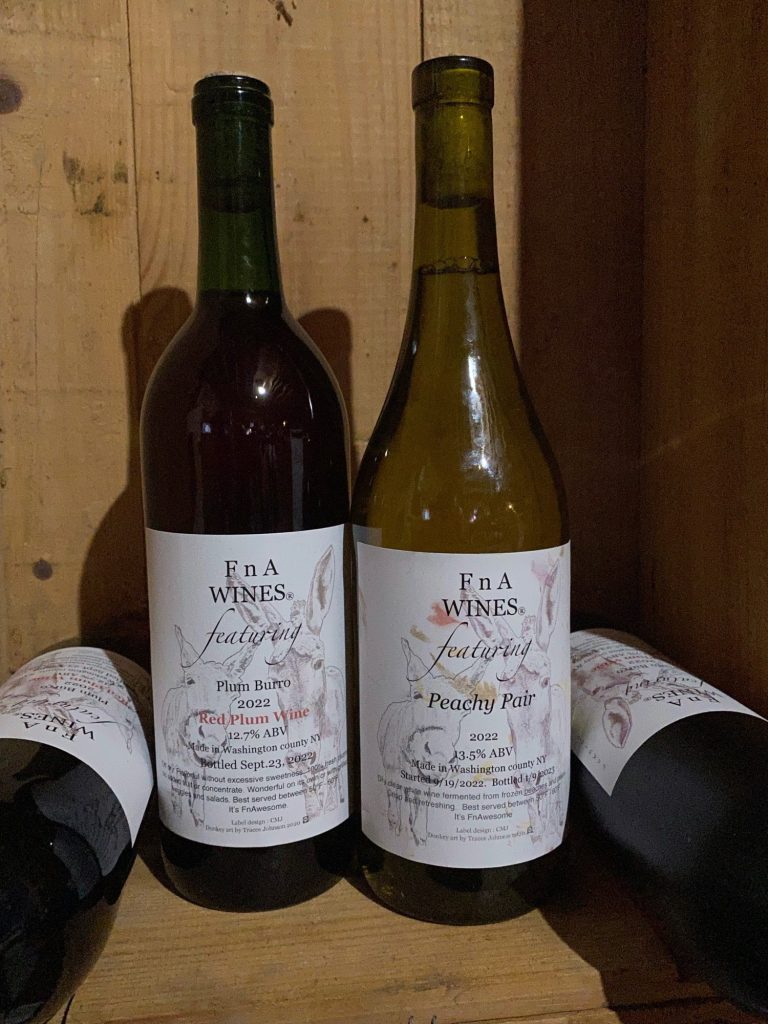
Labels- and ...-
When it comes to labels you're on your own. Masking tape or professionally printed it's up to you. Some wine kits come with labels. Some companies offer labels for an extra charge. It's pretty easy to make your own label on a computer. Regular paper printed with a laser printer works fine. A paper cutter is nice.
Consider the following. If you're going to reuse your bottles you want the label to come off easily. I've tried lots of adhesives and find Elmers School Glue sticks work best. Who would of thought?
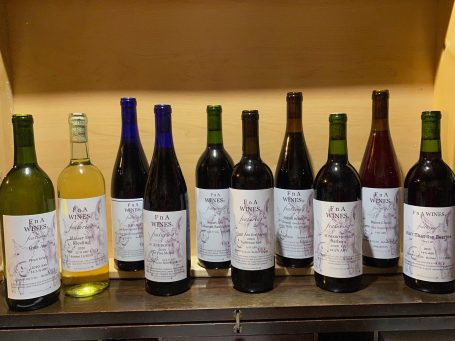
Storing your wine- Although wine can be stored in larger containers I'm assuming you bottled into 750mL bottles. Store the bottles on their side unless you went for the synthetic corks.
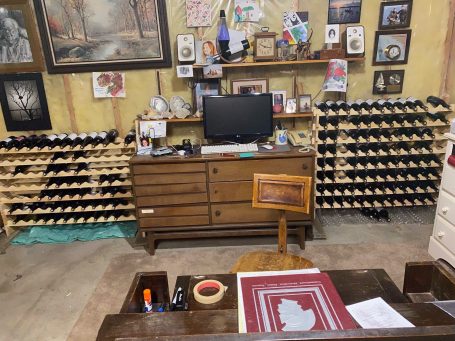
- Wine rack- Many styles available. A wine box from a liquor store can be used short term.
- Temperature- A basement is nice as it generally holds a relatively consistent temperature. Temperatures between 65 and 75 degrees Fahrenheit are good. Lower temperatures for whites higher for reds.
- Store red wine at least six months before drinking. Better if it is a year or more. Store white wine three months or more.
- Having said that Kit whites are often pretty good immediately. Reds three months or so.
- It's HARD to wait. You will notice a difference with time.
Alcohol content- The following formulas will give you the approximate alcohol content of your wine. This is why you need to record the starting and finished SG. I put all three into a spread sheet. Then I use the average of the three.
- Simplest- ABV*= (Starting SG - final SG) x 131.25
- Another- ABV*= ((Starting SG - final SG) ÷ 7.36) x 1000
- Most Complex- ABV*= (76.08 x (Starting SG - final SG) ÷ (1.775 - Starting SG)) x (final SG ÷ 0.794)
*ABV - Alcohol By Volume

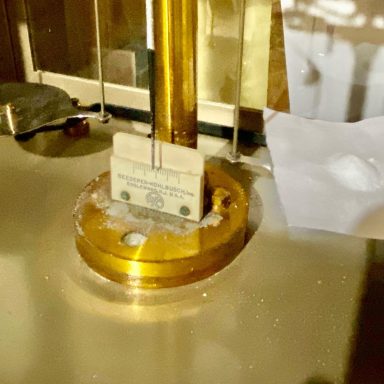
Old balance I enjoy using.
A digital scale is more practical but this is more accurate.
Safety
It's important to keep everything that comes into contact with the wine sanitized. Sanitized not sterilized. You want to prevent wild yeast and bacteria from harming your wine. Generally if the alcohol by volume (ABV) level is 12% or more you're pretty well protected. But, not always! And not at the early stages.
Some common sanitizers include
-Star San -> My recommendation. No odor no rinsing lasts a long time.
-BTF Iodophor-> No odor no rinsing
-Potassium Metabisulphite-> Used at higher concentration than that added during stabilization.
Once a piece of equipment is sanitized don't rinse it. The rinse will have contaminants.
-A liter/quart spray bottle filled with sanitizer, is very useful. Use it to spray sanitizing solution onto many pieces of equipment.
How To Make Wine. Safety & other thoughts
Equipment List
Essential:
- Primary fermenter-(Plastic bucket)
- Carboy- Glass or plastic
- Airlock-
- Rubber stopper (bung)- Single hole for carboy/airlock seal. (Likely #7 for 6 gallon glass carboy.)
- Auto Siphon and tubing -
- Hydrometer and test jar (cylinder)- (more info.)
- Stirrer- Degassing rod
- bottles-
- bottle filler-
- corks - #9 1.75 inch
- Corker- Hand or bench/floor
- Sanitizer
Useful:
- Funnel(s)
- Bottle brush(s)
- Bottle rack
- balance or scale (metric)
- Wine thief- To obtain samples for testing.
- Beakers- 250 and 500 mL
- spray bottle
- Clarifiers (Kieselsol and Chitosan) Informational links here and here.
Using Frozen or Fresh grapes
General instructions for beginners looking to move beyond kits.
This process is very much like that outlined in the non grape wines section. You will likely add similar additives to your must. Using fresh or frozen grapes means your must will contain grapes, their stems, skins and possibly leaves. This causes a "cap" to form. The cap needs be "punched down" twice a day. (stirred with sanitized stirrer) Your primary fermenter will need to be large enough to handle the cap without over flowing. (Five gallons of must in a seven gallon fermenter as an example.)
After primary fermentation is complete (specific gravity {SG} below 1.000), you will need to press your must. The pressed juice and particulates that come through the press go into the secondary fermenter.
Pressing can done by hand, with a home made bucket press or with a press you purchase from a wine equipment outlet. If you plan to try this more than a few times I suggest purchasing a press. It will pay for itself in increased yield in only a few batches.
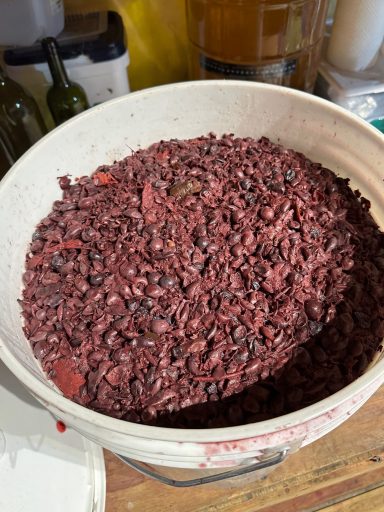
The "cap" from frozen must
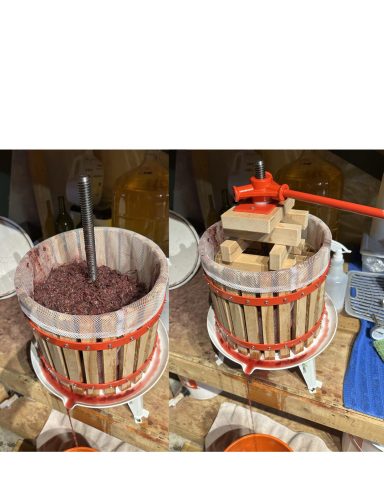
More information about the process and how to make a bucket press can be found here.
Video- using a wine press- here.